Graham crackers are something that I have been wanting to bake with the kids for a long time. I have made several other kinds of crackers in the past, but because the ingredients are somewhat expensive and not something that I generally keep on hand, I have put it off. But I finally decided, after mulling over the guilt of the ingredients list on most store bought boxes of grahams, that it is time to try. I used Alton Brown's recipe from
foodnetwork.com although that recipe meausures ingredients by weight. I thought this would be a wonderful time to let Jonah practice weighing things, until I turned on my kitchen scale and found that the batteries were dead. So I used the approximate volume measurements instead. Cooking with kids involves a lot of ingredients being spilled on the counter, half a tablespoon might end up oozing down the side of the bowl rather than in the bowl, and so on. So even though Alton is extremely precise in his measurements, I found that it is okay to eyeball things and adjust according to any ingredient mishaps. We also had to make some last minute equipment changes.
1 1/2 cup + 1 tsp graham flour
1/4 + 3 Tbl cup all purpose flour
5 Tbl sugar
3/4 tsp baking powder (aluminum free)
1/2 tsp baking soda
1/2 tsp kosher salt
1/2 tsp cinnamon
6 Tbl unsalted butter, chilled and cut into small cubes
4 Tbl + 2 tsp molasses
3 Tbl + 2 tsp milk
1/2 tsp vanilla
In a bowl, combine the graham flour, flour, sugar, baking powder, baking soda, salt, and cinnamon. Mix until combined evenly.
Add the butter and use your hands to incorporate the butter with the dry ingredients. This involves squishing the butter and flour mixture between your fingers, until it is evenly incorporated and about the consistency of corn meal. You can use a food processor to do this, but ours was found to be missing a part. Plus, this is more "hands on" for the kids. (wash their hands very well, and my general rule is that any foods the kids have had their hands in, is ONLY for our own family.)
Using a stand mixer (or continuing to use the food processor if that is what you already used for the butter) add the molasses, milk, and vanilla. Start on low and gradually move to a medium high speed and mix until the dough is starting to pull away from the sides of the bowl. It should take 30 seconds to 1 minute.
And of course, here is evidence of the "measuring mishaps" I was describing above! about 1/4 of the molasses did end up on the table, so I added what I thought looked like the amount that had been spilled. The taste was still very good, so don't sweat small spills.
Remove the dough from the mixer or food processor and shape into a disc. Wrap in plastic wrap or place it in a zip top bag (we don't keep plastic wrap in the house, normally) and place in the fridge during naptime, or at least for a half hour.
Our dough ended up being in the fridge for quite a while- nearly five hours- because Jonah's nap went super late. When we removed it from the fridge, it was way too stiff to roll out. It needed to sit out for about 45 minutes or an hour before we could roll it. I don't think it would have needed to rest at room temperature like this if we had only let it chill for the recommended half hour.
Preheat the oven to 350 F. Unwrap the dough and place it on top of a piece of parchment paper. Place another sheet of parchment paper on top of it. Roll the dough out into a rectangular shape, about 1/8 of an inch thick. I like to use my canning headspace measurer to make sure that my dough is rolled to the correct thickness. Here you can see that it is about half way up to the 1/4 inch mark.
Use a pizza cutter to cut the dough into rectangles. Don't worry about making them perfectly even, or making perfectly straight lines. If you allow your child to help with this step, monitor them closely.
Using a fork, poke each rectangle about 3 times. This will allow air to escape and keep the crackers from getting large bubbles. The kids really enjoyed this step!
Place the dough and parchment paper onto a cookie sheet and bake until the crackers rise a bit and begin to turn a bit darker brown around the edges. The original recipe says 25 minutes, but ours were starting to burn around the edges at just 15 minutes, so keep an eye on them.
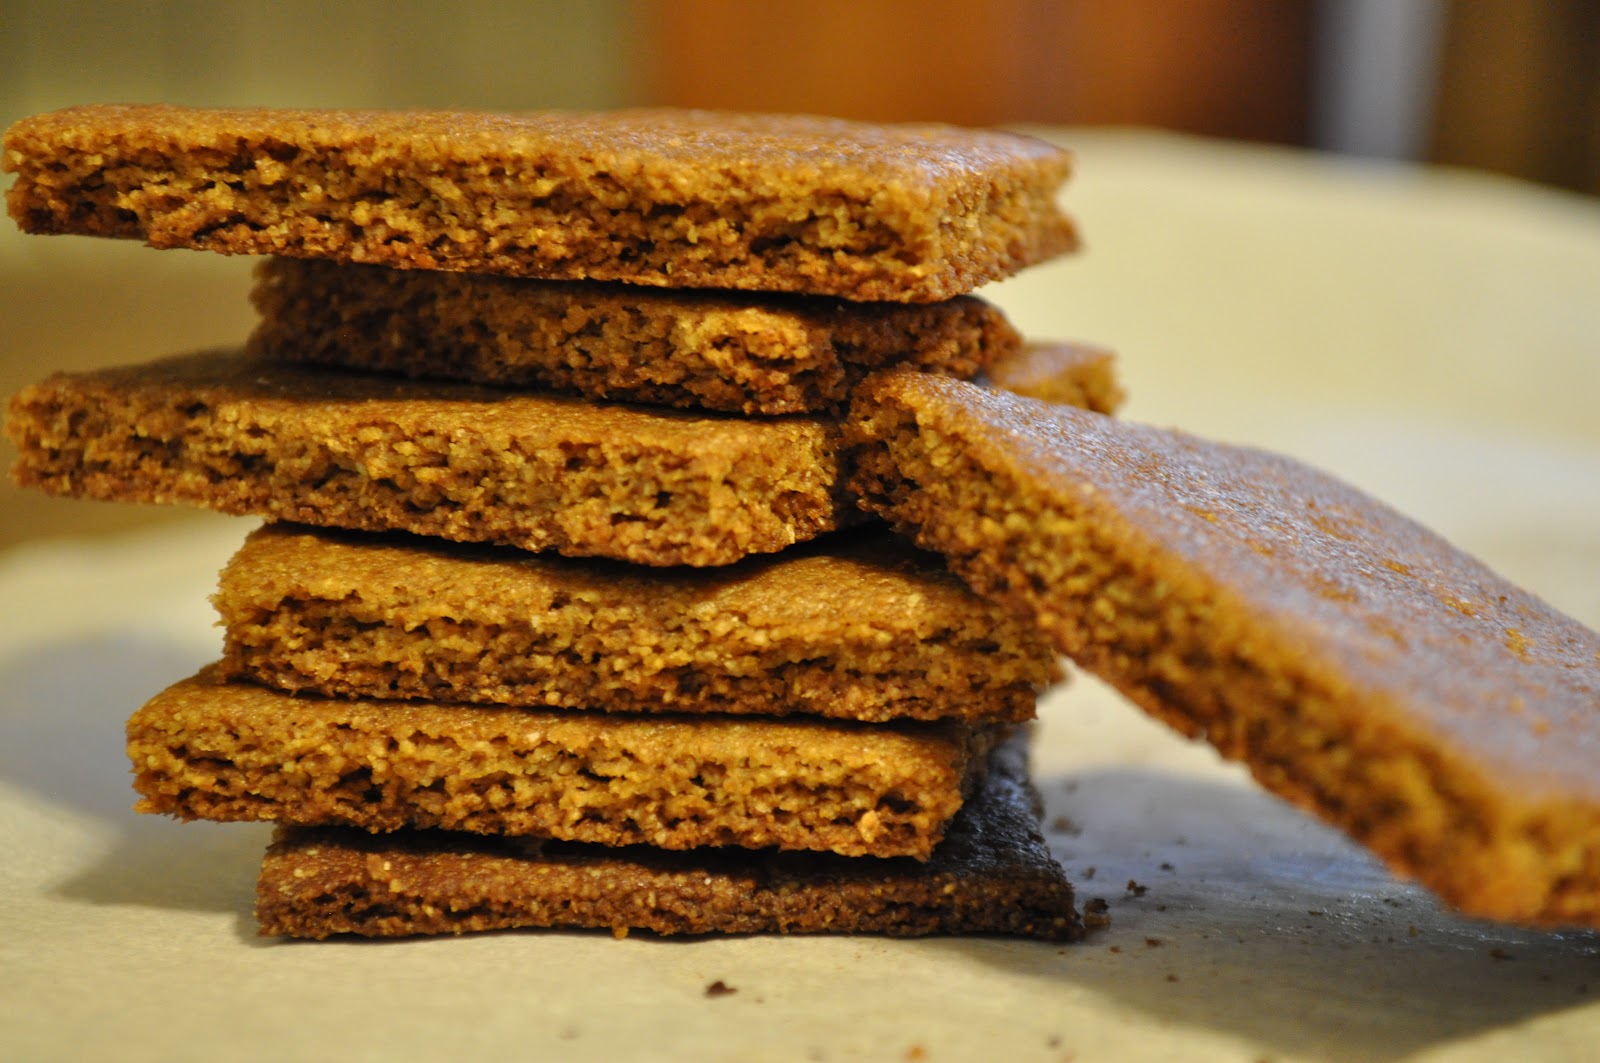
Remove from the oven and allow to cool completely. Break the crackers apart along the lines and enjoy!
I would like to try replacing the molasses with honey and bananas to create a cinnamon-banana graham cracker. This is a very basic recipe that seems like it would lend itself to a few variations, although with something as plain and simple as a cracker, the chemistry can easily be thrown off by ingredient substitutions. It is definitely going to be worth bringing back into our test kitchen on another rainy day!