All three are important for a child's development, especially at different age ranges. I'm not going to get into the benefits of each kind of art project, or the importance of offering all three to your child. If you are interested, it is a pretty easy topic to search on the internet. I will say that I don't feel that a child at Jonah's age or development benefits greatly from closed-ended art projects. So we rarely do them.
But they are fun. Especially around the holidays, when there are so many great projects to be done (and these projects also make great gifts for family members, or decorations around the house!) So today I did decide to do a closed-ended art project with Jonah. We made a christmas tree!
This is a very simple project. I tried to get pictures of the process, but having only two hands, I found it more difficult than I had thought. I did take pictures of the tree after each step though, so hopefully it is easy enough to follow along:
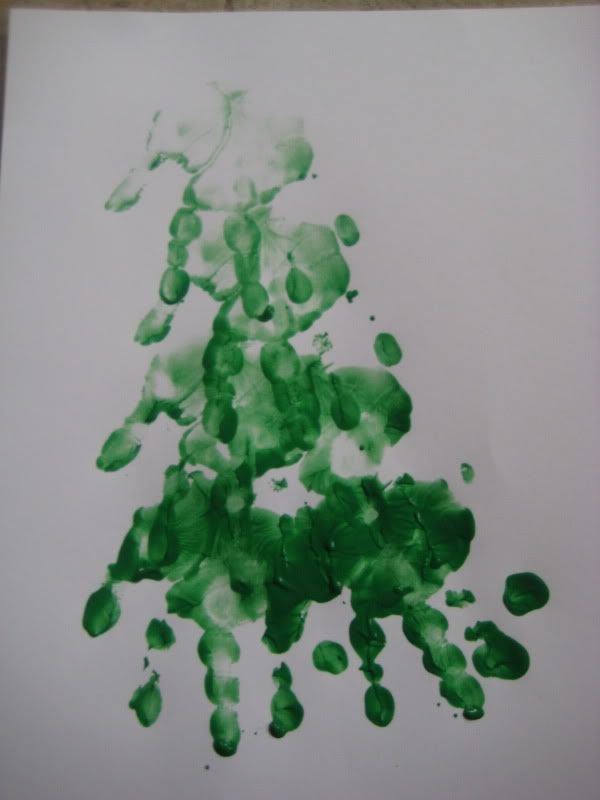
1. Put some non-toxic washable green paint into a pie pan or plate (you could use a paper plate, but pie pans are reusable) Place your child's hand into the paint and make sure the paint covers their hand print completely.
2. Start from the bottom of the tree and work your way up the tree. I found it easiest to place the paper sideways in front of Jonah, so that he didn't have to twist his hand in an awkward position to get the print to be upside down. Place two of your child's hand prints kind of spaced apart for the bottom layer of the tree. If your child has small hands, you could do three hand prints. For the next teir of branches, place two handprints close together. Then on top of that, place one handprint, and then one more on top of that. There are four rows of handprints altogether on Jonah's tree.
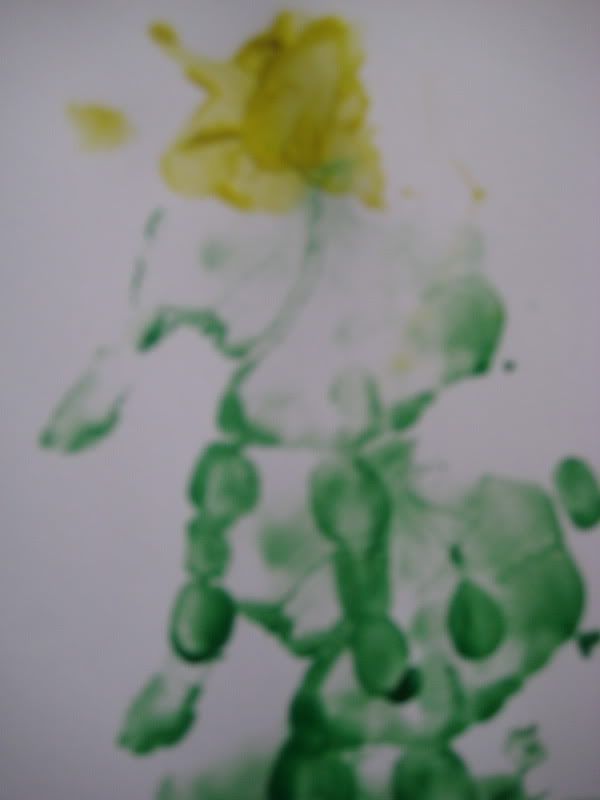
4. In the pie pan, seperately from the green paint, place a dab of yellow paint. Allow your child to squish his index finger into the yellow paint, and paint on the top of the tree for the star.
5. Wash your child's hands and give him a snack while you wait for the paint to dry on the picture.
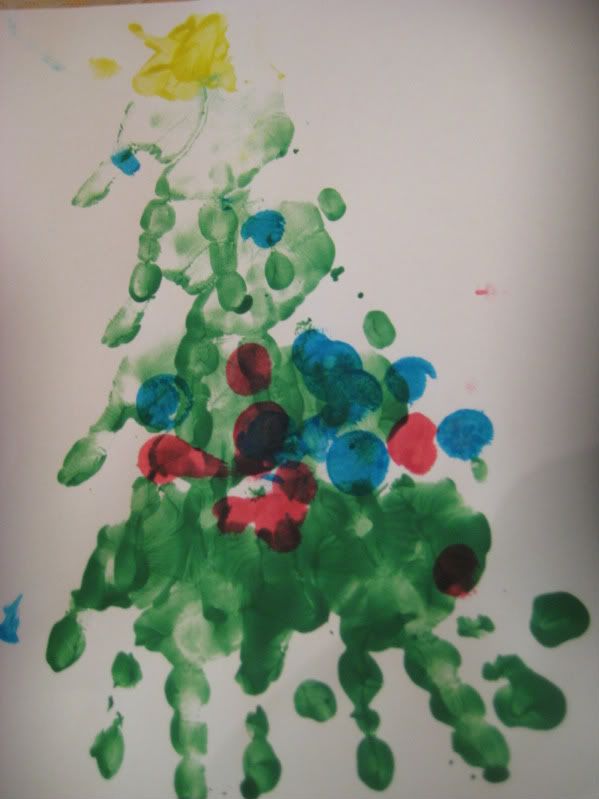
6. Offer your child bingo markers, or "dot" markers* and demonstrate how to push the marker up and down to make a dot. Encourage your child to copy the movements, making christmas ornaments on his tree.

(*bingo markers can be found in most stores, near the playing cards and poker chips. They are about a dollar. You can also buy "dot markers" that are made especially for children's art projects. These are usually found near the children's arts and crafts supplies. While they are more expensive, they do offer a larger variety of colors, they are washable, and some brands are refillable. I prefer the cheaper Bingo Markers)
Ooh, cute idea!
ReplyDeleteI had forgotten about crafting with bingo markers. Loghan would love them. Thanks!
ReplyDelete